The bike repair station on the Karlsruhe University of Applied Sciences Campus
A station to repair bikes
Thanks to various project works within the Automotive Engineering Course at the Faculty of Mechanical Engineering and Mechatronics, a station was constructed, on which students can repair their bicycles independently and free of charge. The structure is in front of the B building. Location
Three students, Simon Bürklin, Jannis Fischer and Jonas Sommer, created videos in a further project that serve as repair instruction videos so that even inexperienced people can fix their bicycles with success. In these videos, the FahrradCoach explains in German how the respective repairs are carried out. A practical way to improve your German and your bike repair skills!
The videos are listed below - just click and off you go!

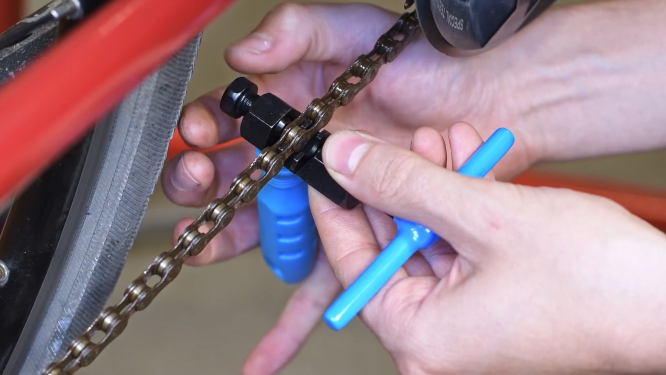
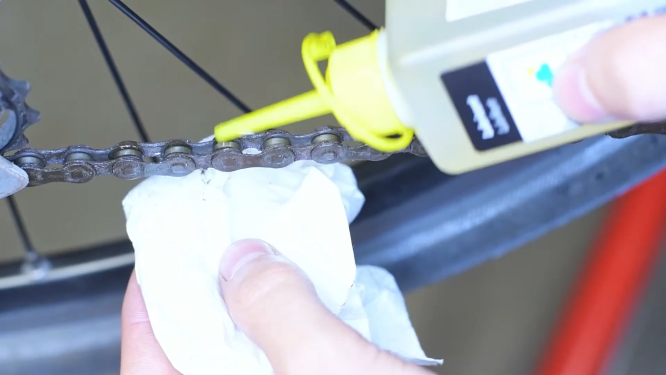
Change your chain
When changing a chain, even the most experienced bicycle coach breaks a sweat a little.
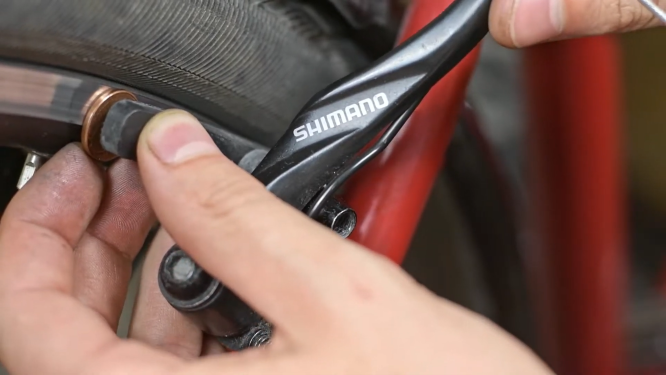
Change your brakes and adjust them correctly
Find out how to set your brakes correctly after you've changed them.
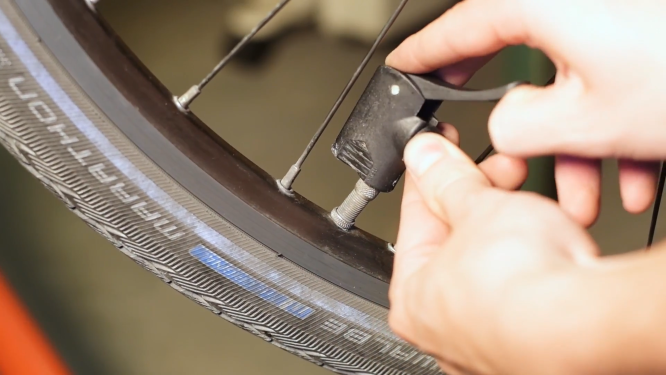
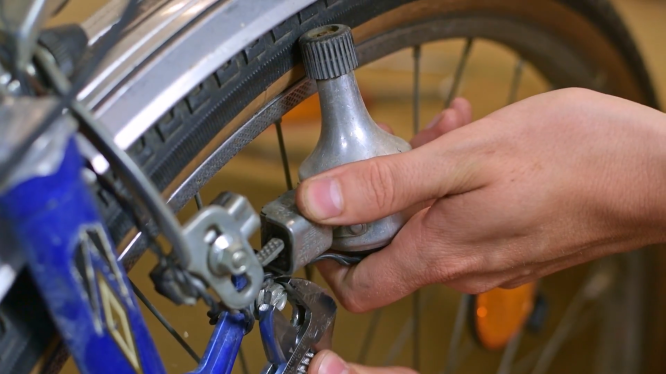
Pump up your tires
The bike coach shows himself again from his best side and shows the best way to inflate your tires.
Dismantle the wheel
The bike coach shows himself again from his best side and shares some of his knowledge. Find out how to dismantle a wheel.
Adjust your brakes
In this video, the FahrradCoach shows you how to adjust your brakes.
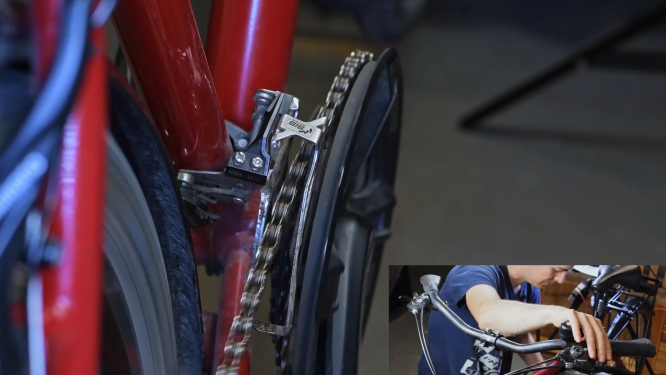
Adjust your front derailleur
Find out how to set up your front derailleur correctly.
For the impatients:
0:40 stop high gear
1:48 stop small gear
2:25 chain tension
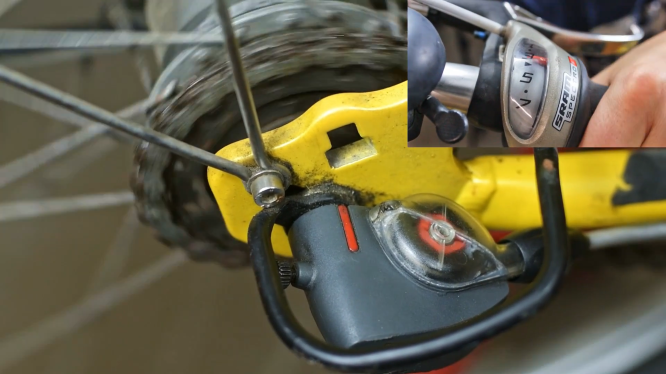
Adjust the internal-gear hub shifter
The bicycle coach shows his best side once again and teaches how to adjust the internal-gear hub shifter.
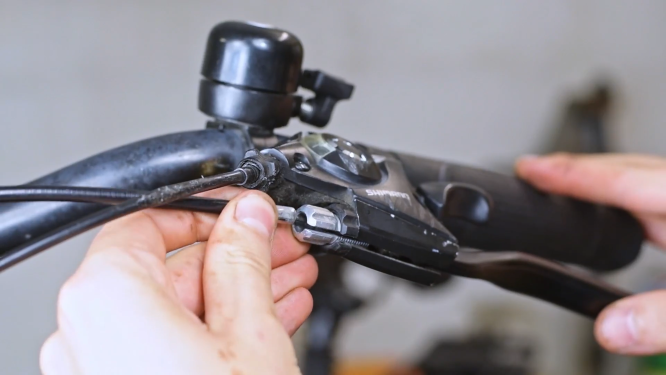
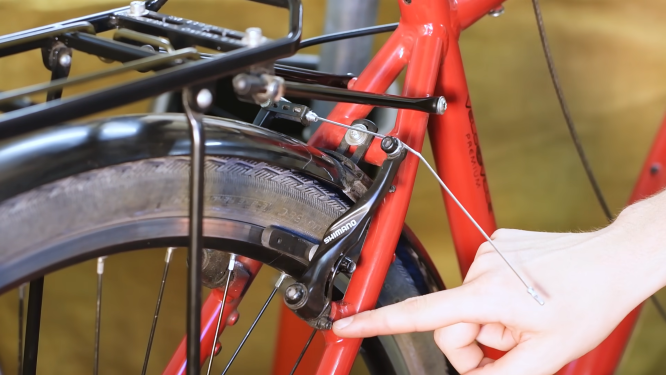
Change your brake cables
In the following video, the FahrradCouch shows you how to change a brake cable.
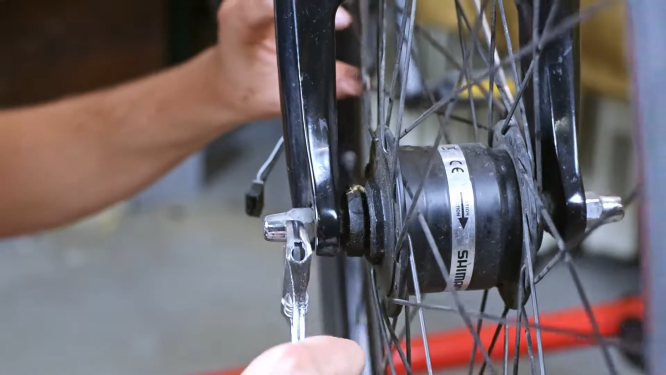
Fix the dynamo hub
The bicycle coach strikes again and imparts some of his knowledge on the subject of dynamo adjustment.
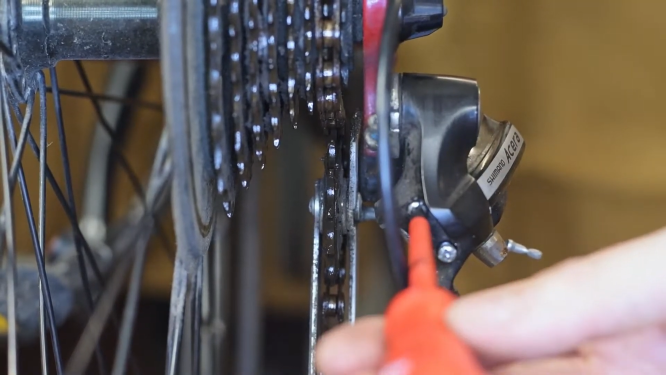
Adjust your rear derailleur
Here you can find out how to adjust your rear derailleur.
For the impatients:
0:45 stop the high gear
2:00 stop the small gear
2:44 index your gear
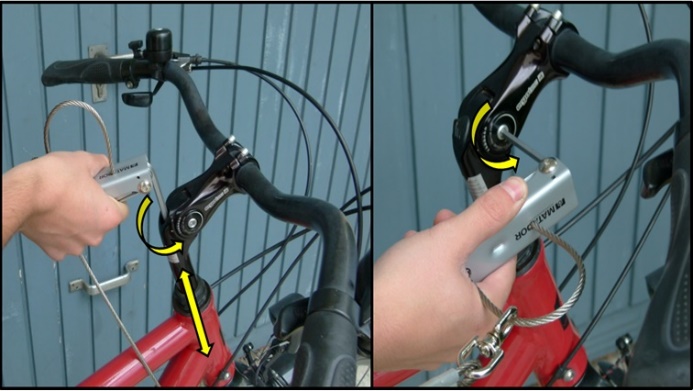
Adjust the height of your handlebar
To adjust the height of your handlebar, you should first loosen the screw that lies axially in the head tube. (left)
If you then want to adjust the whole thing a little more finely and rotate your handlebars, you can loosen the screw responsible for this. (right)
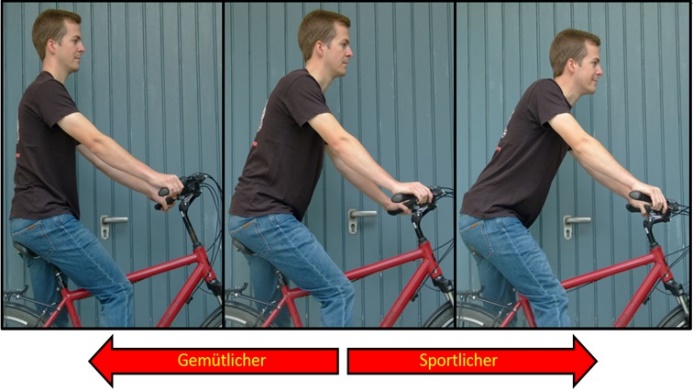
There is no right or wrong way to adjust the handlebar height.
However:
A high handlebar makes for a more upright sitting position and thus for greater air resistance, and you'll consequently ride a little slower. On the other hand, it is less strenuous to maintain the riding position.
A low handlebar, on the other hand, creates a sitting position with less air resistance and is therefore suitable for sportier riding. However, the posture requires a somewhat more pronounced fitness in the long run.
I hope you found your seat better than confused freshmen. Have a good ride!

Adjust the height of your saddle
To adjust the height of your saddle, you must first loosen the clamp.
This is usually tightened with a hexagon socket screw or a quick release.
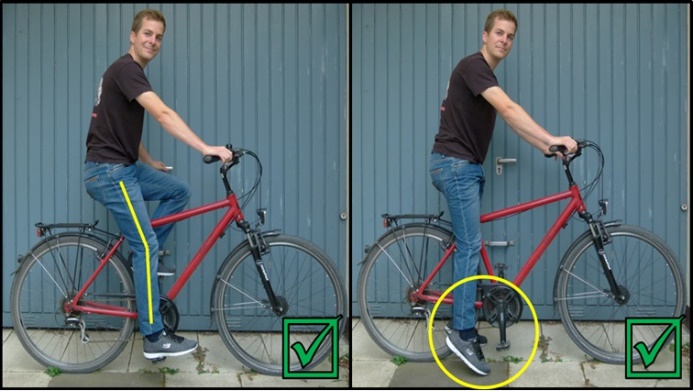
There are two things to keep in mind when adjusting the saddle:
The leg is almost fully extended at the lower crank dead centre, i.e. it forms an obtuse angle between the upper and lower leg.
You should also be able to balance yourself when stopping at traffic lights.
I hope you are now sitting comfortably and safely and wish you: Have a good ride!
Your BicycleCoach.
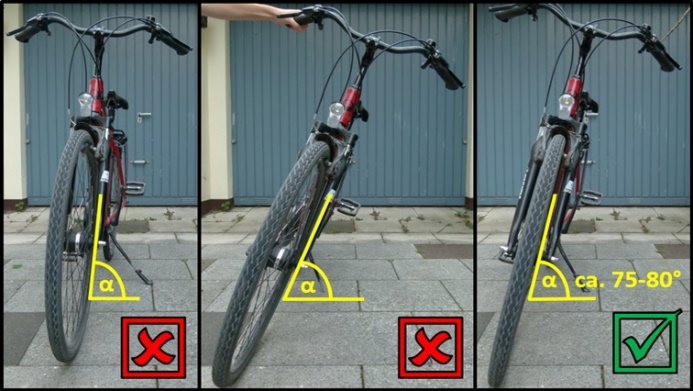
Adjust the kickstand
If your bicycle has a telescopic kickstand, you can vary its length. To vary the length of your stand, you usually have to loosen a screw or similar.
To determine the right length for your stand, you should pay attention to the angle of your bicycle to the stand. Simply observe when it has a stable stand. If you need a rough value, try to set α to approx. 75°-80°. You should also pay attention to the surface on which your bike is standing.
I hope your bike is now as stable as a rock. See you next time!
Your BicycleCoach